This is a step by step guide to installing and configuring Windows Server 2016 Active Directory Federation Services (AD FS) for use with Office 365. If you still wish to deploy the previous version of AD FS (Windows Server 2012 R2 AD FS), then please start with this post. For those with a keen eye, the 2012 R2 post was published exactly three years ago today.
The act of deploying and configuring AD FS 2016 for Office 365 will be broken down into three separate blog posts:
We shall install AD FS 2016 since there are numerous compelling features in this release!
AD FS Role Planning
The AD FS role should be deployed within the corporate network, not in the DMZ. The AD FS proxy role (WAP in Windows Server 2016) is intended to be installed into the DMZ.
The default topology for Active Directory Federation Services (AD FS) is a federation server farm, using the Windows Internal Database (WID). This may contain several federation servers hosting your organization’s Federation Service. In this topology, AD FS uses WID as the store for the AD FS configuration database for all federation servers that are joined to that farm. The farm replicates and maintains the Federation Service data in the configuration database across each server in the farm.
Since the availability of Office 365 relies upon the availability of AD FS when the domain is federated there is a strong recommendation to have at least two AD FS servers with a redundant AD FS proxy infrastructure. This will also require a load balancing solution as well for both internal and external endpoints.
Please review the design guidance on TechNet.
AD FS Service Account
We can use a standard service account or a Group Managed Service Account (gMSA). Since this is a Windows Server 2012 or newer feature, you will require at least one Windows Server 2012 DC or newer.
You need to decide if you want to use a gMSA service account or a standard service account. The advantage of the gMSA is that it will automatically update its password. You must manually update and orchestrate the password change for a standard service account.
If using a regular (non gMSA) service account pre-create using your standard process to document the account and its password.
You will need to create the Key Distribution Services KDS Root Key if creating a gMSA for the first time in the environment.
While the advantage of a gMSA is that it automates the password change process, note that you must create the Key Distribution Services (KDS) Root Key before AD will allow gMSA creation.
Windows Server 2012 domain controllers require a root key to begin generating gMSA passwords. The domain controllers will wait up to 10 hours from time of creation to allow all domain controllers to converge their AD replication before allowing the creation of a gMSA. The 10 hours is a safety measure to prevent password generation from occurring before all DCs in the environment are capable of answering gMSA requests. If you try to use a gMSA too soon the key might not have been replicated to all Windows Server 2012 DCs and therefore password retrieval might fail when the gMSA host attempts to retrieve the password. gMSA password retrieval failures can also occur when using DCs with limited replication schedules or if there is a replication issue.
| Add-KdsRootKey –EffectiveImmediately |
If you have a test lab with a single DC then you can run the below command so that it is immediately effective. Note the minus 10 hours on the Effective time.
| Add-KdsRootKey –EffectiveTime (Get-Date).AddHours(-10) |
In the wingtiptoys lab there are multiple DCs so the KDS Root key was created in advance.
| Add-KdsRootKey –EffectiveTime |
was executed on a Windows Server 2012 R2 DC.

Elevated AD permissions are required to complete this procedure
Kerberos SPN
It is required that a Service Principal Name (SPN) is configured for the service account which will run the federation service. The installation process should set the required Service Principal Names (SPN) on the account. If not you should be prompted to do so.
This can happen if you are building a totally separate AD FS 2016 farm from an existing 2012 R2 farm and you used the same AD FS namespace, e.g. sts.wingtiptoys.ca for both farms.
You can verify the SPN set on the existing farm using SETSPN which is a built-in Windows utility. Note that the SPN is not set on the computer object of an AD FS server, It is set on the service account. In the below example, the existing service account for the 2012 R2 farm is call ADFS-Service.
| setspn -L ADFS-1 |

This is an example where a regular service account is used:
| setspn -L ADFS-Service |

And for a gMSA account:
| setspn /L gMSA-STS |

AD FS Namespaces
Select what federation namespace you want to access AD FS. Typically this is along the lines of:
sts.wingtiptoys.ca
adfs.tailspintoys.ca
Note that this is the namespace for the AD FS service. Since we will be using Kerberos to access AD FS internally, there must be a Service Principle Name (SPN) registered for this name. This will be associated to the service account, and since SPNs operate in the “Highlander – there can be only one!” mode you do not want to duplicate the SPN on the AD FS server by naming the computer the same as the AD FS namespace.
You also want to discuss what display name should be chosen, as this will be visible to users. The name chosen is an optics issue, rather than technical.
For device registration or for modern authentication to on-premises resources using pre-Windows 10 clients, the SAN must contain enterpriseregistration.<upnsuffix> for each UPN suffix in use in your organization.
This would be enterpriseregistration.wingtiptoys.ca in this environment.
AD FS 2016 adds support for a new feature to permit access to device authentication and user authentication on the same TCP port. In AD FS 2012 R2 this required separate TCP ports, where TCP443 and 49433 were used for user and device authentication respectively. This is a called alternate TLS client binding mode and is new in Windows 2016 AD FS. Now it is possible to create multiple bindings on the same TCP port.
There are two ways in which AD FS 2016 can be deployed:
-
Use separate ports – same as Windows 2012 R2 AD FS – TCP 443 and 49433
-
Use same port – TCP 443 with two namespaces. sts.wingtiptoys.ca and also certauth.sts.wingtiptoys.ca
Note that is a little different from Server Name Indication (SNI) which was previously added in Windows 2012 R2 AD FS.
While this post focuses on the deployment of AD FS for Office 365, you should also consider if the farm will also be used for other services. For this reason you may want to add in the additional names to the certificate even if you do not plan to use them immediately.
Depending upon the environment and the devices you wish to support, add the names to the certificate request.
These names must also be created in DNS.
Internet Access
The AD FS server will require access to the Internet in order to complete the configuration of the solution. This may be an issue if your servers are behind a proxy solution.
Certificates
Since AD FS leverages SSL, we need to have a SSL certificate. You could try three options, but only one will work:
-
Self-signed certificate
-
Certificate issued from internal PKI
-
Certificate from 3rd party public CA
Clients needs to see a valid Service Communication Certificate on your AD FS infrastructure, so you are going to have to purchase a certificate from a public CA. External clients and devices such as mobile phones will not trust a service communication certificate that is either self-signed or from your internal CA, which results in tears. We can certainly use self-signed certificates for the Token Decryptingand Token Signing Certificate. These are separate from the service communication cert. This is the default configuration in fact.
Note that certificates are only to be requested after all of the AD FS namespaces have been reviewed. If you do not plan the namespaces, then there is a good chance you will have to go back to the issuing CA and request a new certificate with new or updated names. Mistakes will cost time and money.
This post assumes that you have already acquired and installed a valid 3rd party certificate onto the AD FS and WAP server[s]. If required, you can follow the steps in How To Request Certificate Without Using IIS or Exchange to obtain the certificate with the correct names.
Please follow the documentation from your chosen CA to request, install and complete the certificate. The steps required vary from vendor to vendor and also over time. Make sure you are not missing any updated intermediate certificates! How would you know? Follow their process!!
For the purposes of this post we shall deploy the initial AD FS server, and in a future post add another AD FS server for redundancy.
If you wish to use the Device Registration Service (DRS), then add the additional name onto the certificate. Even if you are not using DRS now you may want to save time updating certificates later on. See also the above note on AD FS certauth.

Database
By default AD FS will deploy to a Windows Internal Database (WID). Each AD FS server in the farm will have a local WID, which are kept up to date by a replication process.
The WID database will provide enough scalability for most deployments.
Note that due to the replication process, WID does not support SAML artefact resolution or token replay detection.
Both SAML artefact resolution and token replay detection are supported in a SQL Server farm. Though neither are currently in-scope for Office 365. You may require these features for other applications or services which be linked to this AD FS farm.
Installing AD FS On Windows Server 2016
After starting up server manager’s add roles and features wizard, select Active Directory Federation Services, then click next.

We don’t need to add any additional features. Remember that the IIS dependency was removed in AD FS 2012 R2.

Clicking next takes us to the AD FS splash screen. Note that it helpfully tells us that the specific AD FS proxy role has been removed in Windows 2016 and how to go about installing it.

If needed the help links along the bottom are:
Learn more about Azure Active Directory
Configure Office 365 with Azure Active Directory Connect
Clicking next will then install the necessary bits.

Bits are being shuffled around…

Shuffling has been completed, and the installation is complete. You can launch the AD FS configuration wizard from here, or alternatively if this window is closed it can be launched from Server Manager.

Before starting the AD FS configuration wizard note that the 3rd party certificate was previously installed and tested.
The choice of service account type was also made prior to starting the installation wizard. in this case the KDS Root container was pre-created.
The wizard also states that you must have access to Domain Admin (DA) credentials!
Note that you are only given an option to either make a new AD FS farm or add this box to an existing farm. This saves the painful issue from older AD FS builds, where AD FS was not installed into a farm you were then unable to add the second AD FS server for redundancy. In that case you had to build a brand new farm from scratch.

AD FS Prerequisites – points to the Windows 2012 R2 prerequisites
Azure Active Directory Connect
Provide your domain admin credentials.

We need to select the SSL certificate that we will use and also provide the AD FS name we selected in the design process.

In this case the name is sts.wingtiptoys.ca — note that there is no concept of an InternalURL or ExternalURL for the AD FS namespace. Clients will use the same name on the intranet and internet to locate AD FS. Thus split DNS will direct clients to the correct endpoint based on their location and make life simple!

Type in the chosen display name, and click next.
As mentioned earlier it is possible to use a gMSA as the AD FS service account. gMSA will automatically update the service account’s credentials and administrators will also be oblivious as to its password. Note that if you do want to use a GMSA, please review the required setup for this, noting the DC version requirements and the steps you must manually perform. Also allow time to pre-create the KDS Root Container.
If the required steps are not performed, you will be unable to use a gMSA. Note that the gMSA option is greyed out in the example below, as the KDS Root Container has not been created.

Clicking “show more” reveals why this is the case.

Creating the KDS Root key, unlocks the the option to create a gMSA. As mentioned above, the KDS Root Key was previously created, and then the next day AD FS was installed and configured. Note that in the example below, the option to use a gMSA is enabled.

Specify the name of the gMSA account to create. In this case it will be called gMSA-STS.

Select the database configuration as per the design. The Wingtiptoys corporation will use WID.

Review the options and when happy, pull the trigger!

Pre-requisite Checks are performed.

Clicking “Show More” will display the highlighted pop-up box.

Click Configure to start the configuration process.
When configuration has completed, the results screen is displayed. This should look like the below.

For reference the help links are included below:
Next steps required for completing your federation service deployment
Need to monitor AD FS service? Use Azure Active Directory Connect Health
Installing AD FS 2016 Using PowerShell
For reference the PowerShell scripts for farm creation using both types of service accounts are below.
Note that all of the same pre-work must still be done. You will also need to update the commands so that your certificate thumbprint is used. Using the Wingtiptoys thumbprint will not work out well for you…
gMSA Service Account
#
# Windows PowerShell script for AD FS Deployment
#
Import-Module ADFS
Install-AdfsFarm `
-CertificateThumbprint:”B67B94AF838E42184F96EE63A8AFCF4C63B054D5″ `
-FederationServiceDisplayName:”Wingtiptoys STS” `
-FederationServiceName:”sts.wingtiptoys.ca” `
-GroupServiceAccountIdentifier:”WINGTIPTOYS\gMSA-STS`$”
Standard Service Account
#
# Windows PowerShell script for AD FS Deployment
#
Import-Module ADFS
# Get the credential used for the federation service account
$serviceAccountCredential = Get-Credential -Message “Enter the credential for the Federation Service Account.”
Install-AdfsFarm `
-CertificateThumbprint:”B67B94AF838E42184F96EE63A8AFCF4C63B054D5″ `
-FederationServiceDisplayName:”Wingtiptoys STS” `
-FederationServiceName:”sts.wingtiptoys.ca” `
-ServiceAccountCredential:$serviceAccountCredential
Next Steps
We are not quite done yet, and there a couple of additional things to do!
AD FS Update(s)
Ensure that you continue to patch and maintain Windows updates on the servers. This will patch and maintain AD FS 2016.
Required Updates for Active Directory Federation Services (AD FS) and Web Application Proxy (WAP)
DNS A Record
We must create the DNS record for the AD FS instance. This maps to the AD FS namespace that we previously planned. Create this A record in your internal DNS infrastructure.
Ideally you will have multiple AD FS servers for resiliency, in which case you will need to create a load balanced VIP for this service. Please follow the steps for your specific LB device. There are specific health check pages for the LB to monitor, which we will look at in a later post. The DNS A record should resolve to the VIP. For testing purposes, use a hosts file on a client to check out individual AD FS servers – do not try and just use the IP address of an AD FS server in your browser, it will not work.
Once the DNS record has been created and propagated, ensure that it resolves correctly.
One thing to mention here, if you create a CNAME and point that to the server hosting AD FS chances are that you will run into a never ending authentication prompt situation.
In the below example the AD FS namespace is called sts.wingtiptoys.ca and a CNAME was used to direct traffic to the AD FS server called ADFS-2016-1.wingtiptoys.ca. This will likely cause the client to obtain a Kerberos ticket for the incorrect name. As a result, authentication will not work.

The easiest way to stop this is to use a regular A record, like so:

There is also an option contained in KB 911149 that some folks have mentioned.
Additional Steps
For additional operational tasks please review: AD FS 2016 Operations.
Verify Event logs
Ensure that there are no errors in the System of Application event logs. Additioally also review the AD FS event log. Please note that this log is located underneath the Application and Services Logs container.

Verify Federation Service Metadata
Open Internet Explorer and navigate to your AD FS server’s federation metadata URL.
This will be something like the below, just change the FQDN to match your environment.
https://adfs.tailspintoys.ca/federationmetadata/2007-06/federationmetadata.xml
https://sts.wingtiptoys.ca/federationmetadata/2007-06/federationmetadata.xml
The result should show this:

Note that if the federation metadata page looks like the below, the AD FS endpoint was not added to the local intranet security zone in IE. More on that topic later in this post.

Verify AD FS Sign-In Page
Note that AD FS 2016 disables the idpinitiatedsignon page by default, and you will need to manually enable it using:
| Set-AdfsProperties -EnableIdPInitiatedSignonPage $true |
Browse to the AD FS sign-in page and test that you are able to authenticate.
The URL will be similar to the below, again change the FQDN to match your organisation’s.
https://adfs.tailspintoys.ca/adfs/ls/idpinitiatedsignon.htm
https://sts.wingtiptoys.ca/adfs/ls/idpinitiatedsignon.htm
You should see the below, and be prompted to sign in:

Depending upon how IE is configured you will either be prompted to provide credentials or be automatically signed-in.
If you want to have users be automatically signed-in then configure your browser settings to trust the federation server role by adding your federation service name (for example https://sts.wingtiptoys.ca) to the browser’s local intranet zone. This will enable seamless sign-in using Windows Integrated Authentication.
Once we are happy that the AD FS instance is functioning appropriately we can then move onto installing the AD FS proxy role (WAP).
This will be covered in the second post in this series, to prevent this one getting too long!
Verify Listening Ports
If you want to investigate the TCP ports which the AD FS server is listening on, netstat can be used for this.
| netstat -anob | findstr “443” |
Verify Netsh Bindings
The same applies if you want to see the SSL bindings. We can use netsh to review them:
| netsh http show ssl | findstr /i “Hostname:port” |
Additional Issues
The below are some issues which you may encounter during AD FS deployment. The list is not exhaustive, and will change over time.
Configuration Database Already Exists
If you are re-installing AD FS onto an existing instance it will check if the configuration database exists. If this is the case you can then overwrite the existing one.
gMSA Root Key Not Replicated
If insufficient time has elapsed after creating the KDS Root Key, then you will have issues creating a gMSA account.
We need to hurry-up and wait.

Should you proceed without heeding the warning, the below will be your prize.

Certauth and EnterpriseRegistration SAN Names
If the certauth and enterpriseregistration SAN names are not present on the certificate, then the AD FS 2016 installation wizard will flag a warning on this.

Cheers,
- Active Directory Federation Services
- AD FS Overview
- AD FS Design
- AD FS Design Guide
- AD FS Design Guide in Windows Server 2012 R2
- AD FS Design Guide in Windows Server 2012
- Identifying Your AD FS Deployment Goals
- Mapping Your Deployment Goals to an AD FS Design
- Determine Your AD FS Deployment Topology
- Planning Your Deployment
- Planning Federation Server Placement
- Planning Federation Server Proxy Placement
- Planning for AD FS Server Capacity
- Appendix A: Reviewing AD FS Requirements
- AD FS Design Guide
- AD FS Deployment
- AD FS Deployment Guide
- Best Practices for Securing AD FS
- Plan Device-based Conditional Access on-Premises
- Required updates for AD FS and WAP
- Set up Geographic Redundancy with SQL Server Replication
- Set up the lab environment for AD FS in Windows Server 2012 R2
- Upgrading to AD FS in Windows Server 2016 using a WID database
- Upgrading to AD FS in Windows Server 2016 using a SQL database
- Deploy Azure AD Connect Health to Monitor your on-premises identity infrastructure in the cloud
- Windows Server 2016 and 2012 R2 AD FS Deployment Guide
- Deploying a Federation Server Farm
- Join a computer to a Domain
- Enroll an SSL Certificate for AD FS
- Install the AD FS Role Service
- Configure a Federation Server
- Configure a federation server with Device registration Service
- Configure Corporate DNS for the Federation Service and DRS
- Verify your Windows Server 2012 R2 Federation Server Is Operational
- Deploying Federation Server Proxies
- Azure Active Directory Connect
- Deploying a Federation Server Farm
- Windows Server 2012 AD FS Deployment Guide
- Planning to Deploy AD FS
- Implementing Your AD FS Design Plan
- Checklist: Implementing a Web SSO Design
- Checklist: Implementing a Federated Web SSO Design
- Configure Partner Organizations
- Checklist: Configure the Account Partner Organization
- Checklist: Configure the Resource Partner Organization
- Add an attribute Store
- Create a Claims Provider Trust Using Federation Metadata
- Create a Relying Party Trust Using Federation Metadata
- Add a Claim Description
- Configure Client computers to Trust the Account Federation Server
- Distribute Certificates to Client computers by Using Group Policy
- Configuring Claim Rules
- Checklist: Creating Claim Rules for a Claims Provider Trust
- Checklist: Creating Claim Rules for a Relying Party Trust
- Create a Rule to Pass Through or filter an Incoming Claim
- Create a Rule to Send an AD FS 1.x compatible Claim
- Create a Rule to Permit All Users
- Create a Rule to Permit or Deny Users Based on an Incoming Claim
- Create a Rule to Send LDAP attributes as Claims
- Create a Rule to Send Group Membership as a Claim
- Create a Rule to Transform an Incoming Claim
- Create a Rule to Send an Authentication Method Claim
- Create a Rule to Send Claims Using a Custom Rule
- Deploying Federation Servers
- Checklist: Setting Up a Federation Server
- Add a Host (A) Resource Record to Corporate DNS for a Federation Server
- Manually Configure a Service Account for a Federation Server Farm
- Install the Federation Service Role Service
- Create the First Federation Server in a Federation Server Farm
- Create a Stand-Alone Federation Server
- Add a Federation Server to a Federation Server Farm
- Add a Token-Signing Certificate
- Add a Token-Decrypting Certificate
- Set a Service Communications Certificate
- Verify That a Federation Server Is Operational
- Deploying Federation Server Proxies
- Checklist: Setting Up a Federation Server Proxy
- Join a computer to a Domain
- Configure Name Resolution for a Federation Server Proxy in a DNS Zone That Serves Only the Perimeter Network
- Configure Name Resolution for a Federation Server Proxy in a DNS Zone That Serves Both the Perimeter Network and Internet Clients
- Export the Private Key Portion of a Server Authentication Certificate
- Import a Server Authentication Certificate to the Default Web Site
- Install the Federation Service Proxy Role Service
- Configure a computer for the Federation Server Proxy Role
- Verify That a Federation Server Proxy Is Operational
- Configure Performance Monitoring
- Interoperating with AD FS 1.x
- Checklist: Configuring AD FS to Consume Claims from AD FS 1.x
- Checklist: Configuring AD FS to Send Claims to an AD FS 1.x Federation Service
- Checklist: Configuring AD FS to Send Claims to an AD FS 1.x Claims-Aware Web Agent
- Create a Relying Party Trust Manually
- Create a Claims Provider Trust Manually
- Create a Rule to Send an AD FS 1.x compatible Claim
- Deploy Azure AD Connect Health
- Migrate Active Directory Federation Services Role Services to Windows Server 2012 R2
- Migrate Active Directory Federation Services Role Services to Windows Server 2012
- AD FS Development
- AD FS Operations
- AD FS Access Control Policies
- AD FS Prompt login parameter support
- AD FS 2016 Single Sign On Settings
- AD FS Rapid Restore Tool
- AD FS support for alternate hostname binding for certificate authentication
- AD FS user sign-in customization
- Add an attribute Store
- Compound authentication and AD DS claims in AD FS
- Configure AD FS 2016 and Azure MFA
- Configure AD FS Extranet Lockout Protection
- Configure AD FS to authenticate users stored in LDAP directories
- Configure AD FS to Send Password Expiry Claims
- Configure additional Authentication Methods for AD FS
- Configure Authentication Policies
- Configure Claim Rules
- Configure Device-based Conditional Access on-Premises
- Configure intranet forms-based authentication for devices that do not support WIA
- Configuring Alternate Login ID
- Create a Claims Provider Trust
- Create a Non-Claims Aware Relying Party Trust
- Create a Relying Party Trust
- Device Authentication Controls in AD FS
- Improved interoperability with SAML 2.0
- Join to Workplace from Any Device for SSO and Seamless Second Factor Authentication Across company Applications
- Manage Risk with additional Multi-Factor Authentication for Sensitive Applications
- Manage Risk with Conditional Access Control
- Managing SSL Certificates in AD FS and WAP 2016
- Managing SSL Protocols in AD FS
- Plan Device-based Conditional Access on-Premises
- Set up an AD FS lab environment
- Walkthrough Guide: Manage Risk with additional Multi-Factor Authentication for Sensitive Applications
- Walkthrough Guide: Manage Risk with Conditional Access Control
- Walkthrough: Workplace Join with a Windows Device
- Walkthrough: Workplace Join with an iOS Device
- Walkthrough: Workplace Join with an Android Device
- AD FS Technical Reference
- AD FS 2016 FAQ
- Securing Privileged Access
- Software Restriction Policies
Installing ADFS-2016 using PowerShell
Developer’s Guide to Automated Install of ADFS On Windows Server 2016 (TP4)
![]()
Recently I ran into situations where have to build a developer enviorment that needs active directory federation services [adfs] running on windows server 2016 [currently in technical preview 4, hence w2k16-tp4,]. I am intentionally avoiding term adfs ‘v4’ which is really tempting but its about time to move away from these versions. From now on you can simply refer to it as adfs running on w2k16. So, what I really needed is something that can be up and running in fastest way possible. Its really a pure developer setup focusing on saving time on installation and configuration so no server hardening, least privilege accounts or all those things that are absolutely mandatory for non developer environments like production!
OK, with that out of the way couple of things: Firstly, I decided to focus on following two pieces in this post and this will get you the up and running the adfs instance on the w2k16.
- Active directory domain services [adds]
- Active directory federation services [adfs]
I also did installed visual studio 2015 and sql server 204 for claims injection but not covering that in this post. Sql server does not like to be installed on domain controller so have to tame that beast to work and my advice would be not do that unless you really have to do it.
[NOTE: I have tried these steps on windows server 2016 technical preview 4. There is no guarantee that they will also work as-is/at all on any future previews or rtm. Also these instructions and scripts are provided without any warranty and are not for production usage]
Choosing the Platform
All you need to get started is w2k16-tp4 installed and running. I decided to use azure vm to install and host it. You can do it too by going here and follow the instructions. Now, by no means you have to use azure vm so feel free to choose you preferred method to install it either on-premises or in the cloud.
You now should be looking at login screen before you move to next step. Also, everything we do from this point onwards will be using the account with admin privileges.
Installing the Active Directory Domain Services
Adfs needs domain controller so we will first start by installing active directory domain services [adds] by using the powershell script below:
|
1
2
3
4
5
6
|
$domainName = "contoso.com"$password = "*********"$securePassword = ConvertTo-SecureString $password -AsPlainText -ForceInstall-WindowsFeature -Name AD-Domain-Services -IncludeManagementToolsInstall-ADDSForest -DomainName $domainName -SafeModeAdministratorPassword&amp;amp;nbsp;$securePassword&amp;amp;nbsp;-Force |
The above script is straight forward but in case this is your first time installing adds lets take a look at what’s going on. You start by setting up a domain name and the choice of name is really up to you. Next, the password is provided. I will advice choosing a pass phrase which you can remember and should is better than “p@ssw0rd”. Secure string is constructed as needed by cmdlet install-addsforest that does the work of installing adds on the server. The -force switch is there to make sure cmdlet ignore the warnings.
The above script takes few minutes to completely install the domain controller and operating system will be restarted afterwords. Next, lets install the adfs.
Installing the Active Directory Federation Services
Before we jump into installation of adfs we need to procure a certificate as adfs needs it as part of installation and also to function. Creation of certificate is something that needs to be taken care of upfront as shown by script below.
|
1
2
3
4
5
6
7
8
9
10
11
12
13
14
15
16
17
|
$fdqn =(Get-WmiObject win32_computersystem).DNSHostName+"."+(Get-WmiObject win32_computersystem).Domain $password = ConvertTo-SecureString -String "********" -Force –AsPlainText $filename = "C:\$fdqn.pfx"$selfSignedCert = New-SelfSignedCertificate -certstorelocation cert:\localmachine\my -dnsname $fdqn$certThumbprint = $selfSignedCert.ThumbprintExport-PfxCertificate -cert cert:\localMachine\my\$certThumbprint —Password $password -FilePath $filename#optional - Adding cert to trusted root will help stop browser complaining about self signed cert being not from trusted certificate authority.Just for the record you should never do this setting in non dev environments. $pfx = new-object System.Security.Cryptography.X509Certificates.X509Certificate2 $pfx.import($filename,$password,"Exportable,PersistKeySet") $store = new-object System.Security.Cryptography.X509Certificates.X509Store([System.Security.Cryptography.X509Certificates.StoreName]::Root,"localmachine") $store.open("MaxAllowed") $store.add($pfx) $store.close() |
The fdqn variable is set by using two wmi cmdlets to get the computer name and domain name and then concatenate them with “.” to give us the fully qualified domain name e.g. w2k16-machine.contoso.com which then used for creating a new self signed certificate by the cmdlet new-selfsignedcertificate. From technical standpoint its not a absolute must to use fdqn and you can provide any valid string for the certificate name but this does make the script bit more reusable in my view.
The password is needed for the next cmdlet export-pfxcertificate that export the certificate to the filesystem. You should provide a pass phrase that you remember for future use. Finally, we export the certificate in .pfx format on the file system. The lines 11-16 are optional but recommended [dev environment only] to avoid browser warnings related to self signed certificates. Basically we are taking the self signed certificate and add it to trusted root certification authorities on local machine.
We are now ready for adfs to be setup. The install-windowsfeature cmdlet is used with adfs-fedeation as the name of the feature to be installed. This will begin the adfs install and typically it takes several minutes to complete. Next, import the adfs module to get the full set of cmdlets needed for further configuration of adfs.
The install-adfsfarm is the cmdlet that actually configure the adfs and requiers following parameters:
- Certificate thumbprint: Provide it with the thumbprint from self signed certificate created in the previous step.
- Federation service name: This should match the cn [common name] in the certificate. Self signed cert created earlier has fdqn as common name.
- ServiceAccountCredential: This is the domain account that run the adfs service. You will use the same admin account you are using so far. Again, admin account should never be used beyond developer envriomrenit setup of adfs.
|
1
2
3
4
5
6
7
8
9
|
Install-WindowsFeature -IncludeManagementTools -Name ADFS-Federation Import-Module ADFS $user = "$env:USERDOMAIN\$env:USERNAME"$password = ConvertTo-SecureString –String "********" –AsPlainText -Force$credential = New-Object –TypeName System.Management.Automation.PSCredential –ArgumentList $user, $password Install-AdfsFarm -CertificateThumbprint $certThumbprint -FederationServiceName $fqdn -ServiceAccountCredential $credential |
One last step is that you must check to see if spn [service principal name] is setup properly for the account running adfs. This step can be automated but for now providing instructions to do it manually. Should able to do it under a minute.
- Open cmd prompt and type adsiedit.msc
- On the adsi edit console right click and choose connect to and then press ok
- Expand the nodes until you see cn=users
- Select the user account you choose to install the adfs
- Right click the user account and select properties
- Scroll on the attribute editor till you see servicePrincipalName
- Click Edit
- You should see the http/{fdqn} listed there and if its not present then add it by using the value to add text box. Remember fdqn is what you been using so far and there is only single backslash “/” and not double “//”
If everything goes well you should have a working adfs environment ready!
Testing
From cmd prompt launch internet explorer [not using edge as it doesn’t like to be launched by admin user process]
|
1
|
cmd /K "%ProgramFiles%\Internet Explorer\iexplore.exe" |
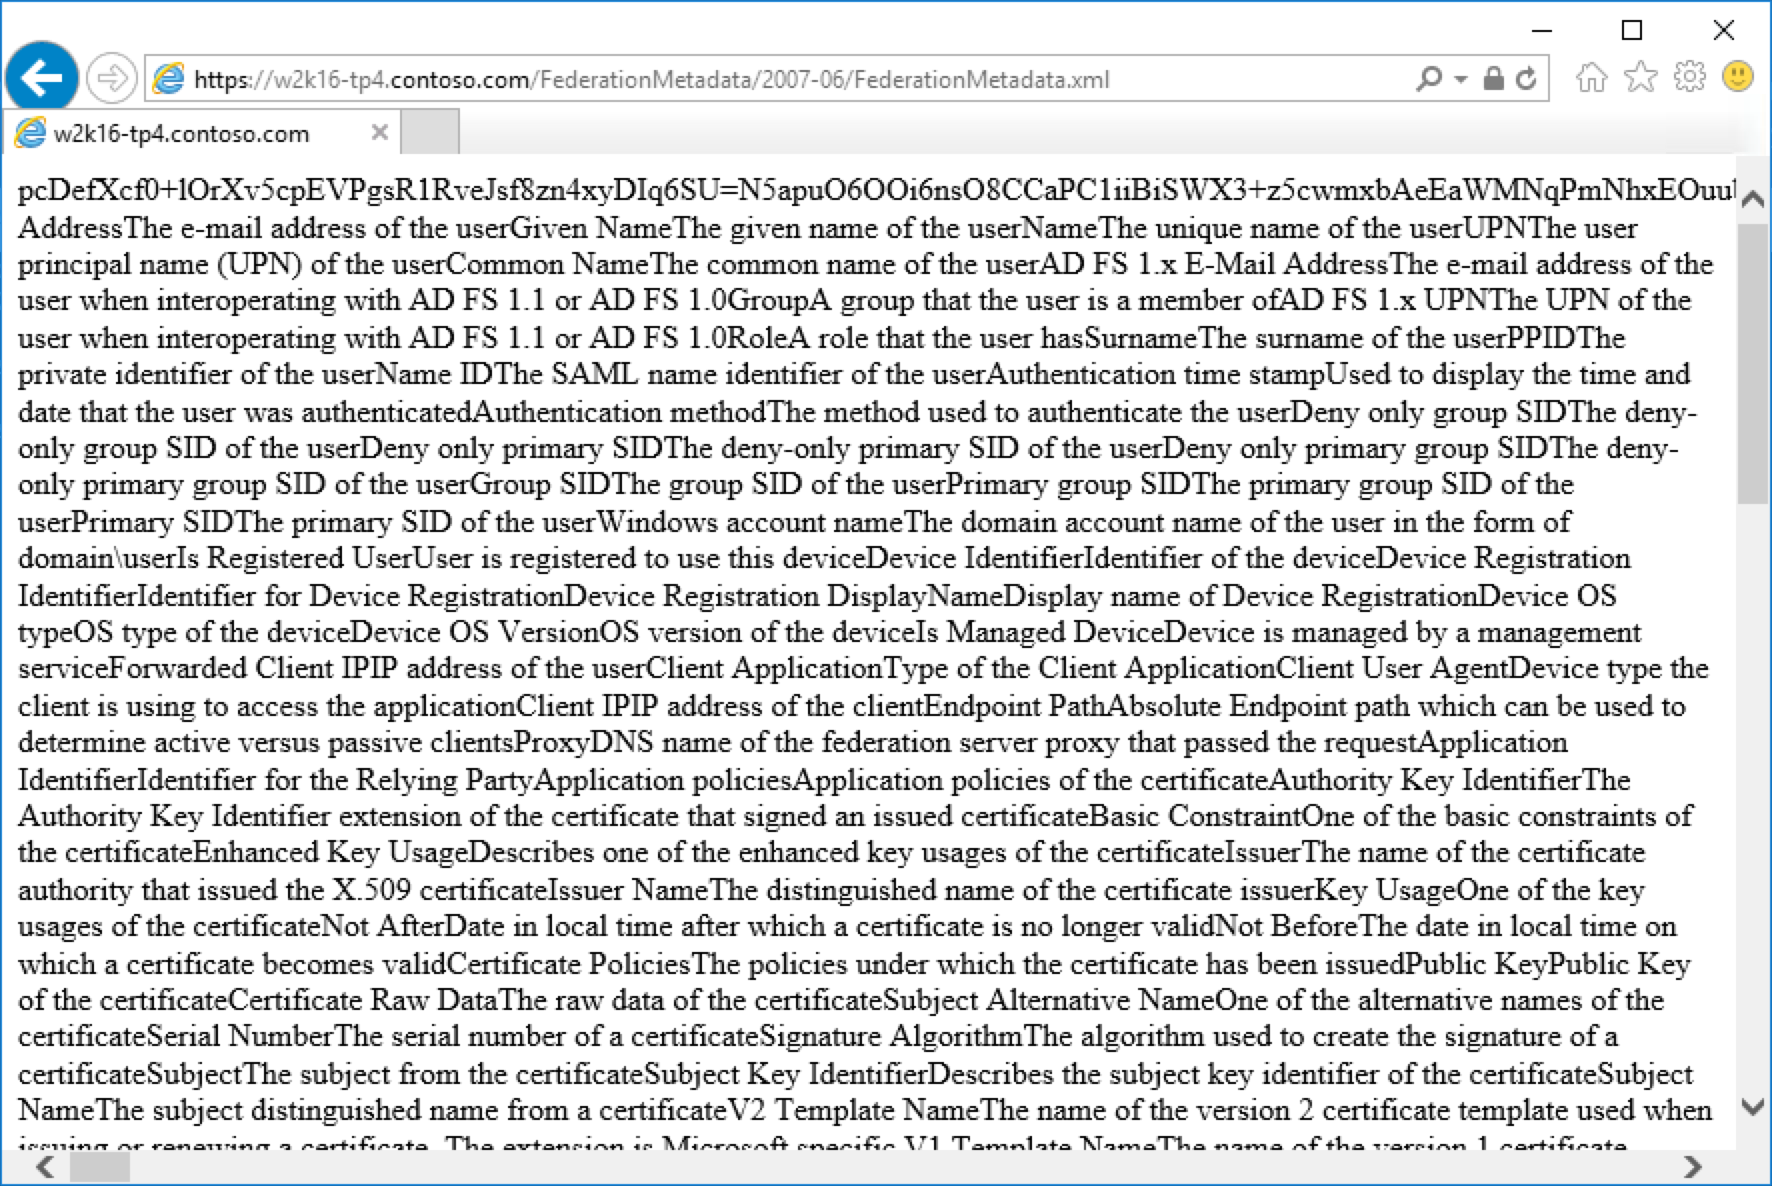
Open the federation metadata by using the url:
|
1
|
https://{fdqn}/FederationMetadata/2007-06/FederationMetadata.xml |
You need to replace the {fdqn} with that of your machine and if you’re following through fdqn variable in the script above can also give you that in case you want to get it via scripting.
You should now see the browser window displaying the xml [ignore the formatting] similar to the one shown in the screen shot. You may want to click on the image to see it in its full resolution.